
Dictionaries
תוכן זה אינו זמין עדיין בשפה שלך.
This screen allows you to add a “data list” manually or from a file (an Excel, CSV or a JSON) and associate the data list with a “List of values” type control while editing the template.
Several data dictionaries can be associated with the same template and the same data dictionary can be associated with several templates.
To create a dictionary, login to the application and click Data Sources and Dictionaries.
At the top on the right there is a button for adding a new dictionary and a button for uploading a file.
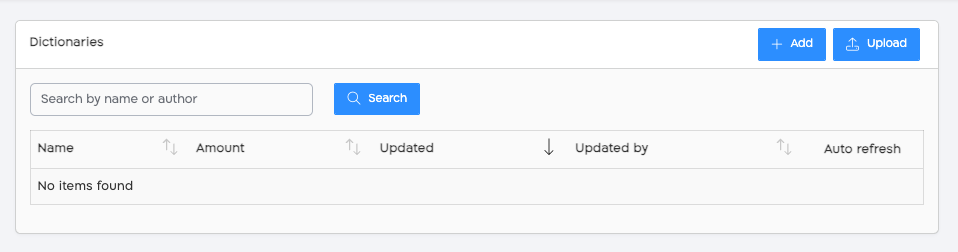
You can use the upload button for loading a file for your dictionary. You can see at the bottom the explanation on every item in the dictionary table.
Also, you can click on the Add button to create the new dictionary.
In this case, you can add data manually to the dictionary by using the green + (Add Row), or use the Replace and Append buttons to load files to the dictionary.
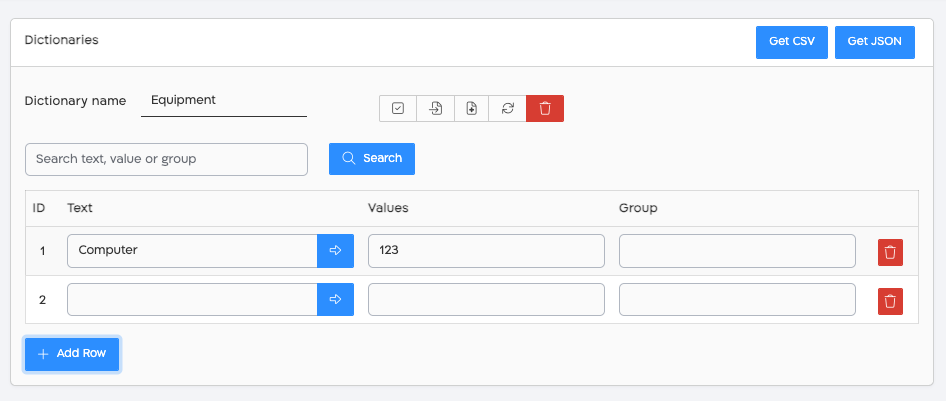
Here you can also export the dictionary that you are viewing/editing using the Get CSV and Get JSON buttons. Click Get CSV to export it in CSV format, or Get JSON to export it in JSON format:

Here are the editing options on the current dictionary (from left to right):
- The name of the dictionary — you can change this as needed.
- Save button — to save a new data dictionary or save changes to an existing data dictionary.
- Replace button — for replacing the existing dictionary with a loaded Excel or CSV file.
- Append button — for adding the loaded file data to the existing dictionary.
- Delete button — for deleting the dictionary.
Search and filter records
Section titled “Search and filter records”When a dictionary contains many records you can use the search box above the table to filter the records by your search criteria. Type a term and click Search to narrow the table to the matching rows, or click Clear to remove the filter and return to the full list.
Filtering only changes what is displayed — you can continue to manage the dictionary while a filter is active. On the filtered view you can:
- Add a new row (the green + Add Row button).
- Delete a row.
- Reorder rows.
Changes you make on the filtered view are saved to the dictionary in the usual way with the Save button.

This table will explain the dictionary table:
| Column | Description |
|---|---|
| ID | A number that is automatically entered. |
| Text | Represents the text that will be shown to the client in the “List of Values” control. If you upload the dictionary from a file, the text should appear in column “A” in the file. |
| Value | Represents the data that will be received in the archive and in the JSON file. Intended for cases where the text shown to the client is not the same as the text they want to receive in the archive. For example, the customer will select the name of the bank in the “List of Values” control, and in the archive will receive the bank code and not the name of the bank. The value should appear in column “B” in the uploaded file. |
| Group | Represents a name of a group, intended for cases where you want to link several data dictionaries together — for example a list of cities and streets. Entering a group name that is identical in value from two different data dictionaries allows a connection in the value selected in the “List of Values” control. The group should appear in column “C” in the uploaded file. |
Notes and Gotchas
Section titled “Notes and Gotchas”For security reasons some characters are disallowed.
Disallowed for the Text column: <, >, ;
Disallowed for the Value and Group columns: <, >, #, $, %, ^, &, *, |, ;, :, {, }, [, ], =, +, -