
Create message
תוכן זה אינו זמין עדיין בשפה שלך.
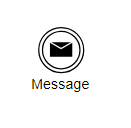
This controller is used to create SMS or Email messages of different types with default or custom text, input parameters and other configurations.
When pressing “Message” controller in the workflow the message settings panel will be opened at the right side.
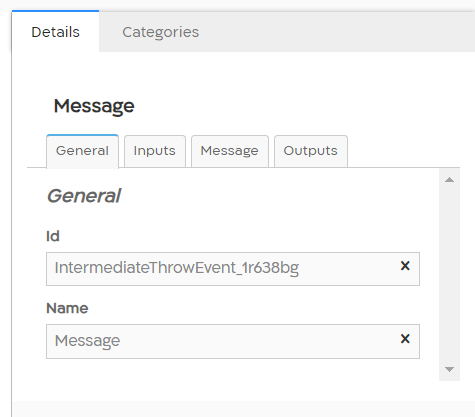
General settings
Section titled “General settings”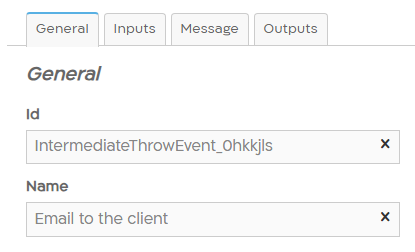
| Id | ID has a unique value that is automatically generated by the system. |
| Name | Default name “Message” can be changed by the user to another value. The name is shown under the controller in the workflow and with a unique value it is easy to distinguish it from others. |

Inputs settings
Section titled “Inputs settings”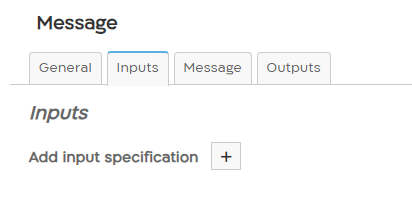
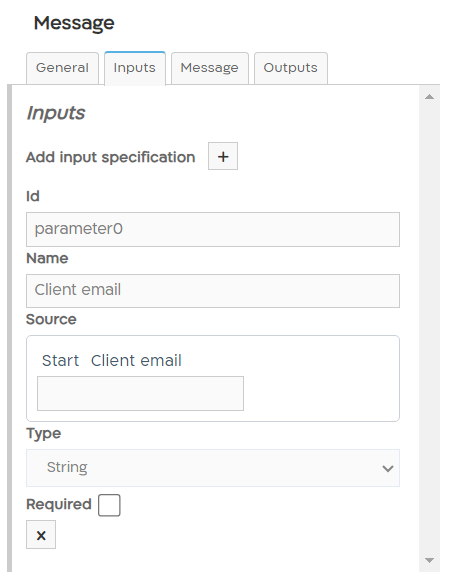
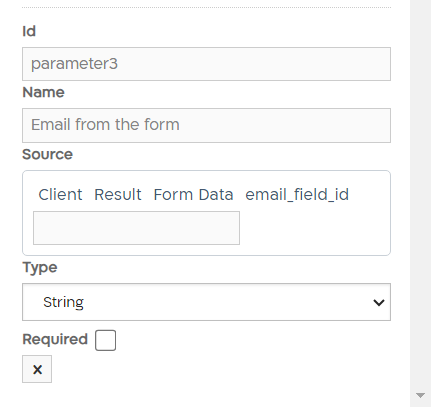
This screen is used to add input parameters to the message controller from the previous controllers or from the form.
| Add input specification | Press “+” icon to add a new input parameter. |
| Id | ID of the input parameter. The value is automatically generated by the system and is unique for the specific controller. |
| Name | Name of the input parameter. |
| Source | Source of the input parameter. Can be any of the previous controllers or the session result from the form. |
| Type | Type of the input parameter. Default: Any |
| Required | Required or not. Default: No |
Example of the input parameter from the Start event:
Example of the input parameter from the Form Result of the client session:
Message settings
Section titled “Message settings”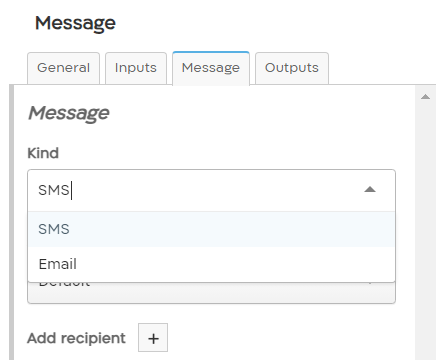
This screen is used to configure the kind of message, recipients, message text etc.
Select the kind of the message: SMS or Email. Parameters of the window will vary according to the selected kind.
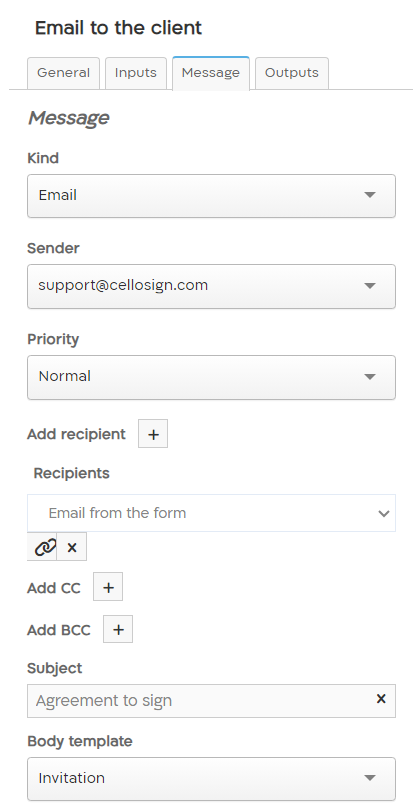
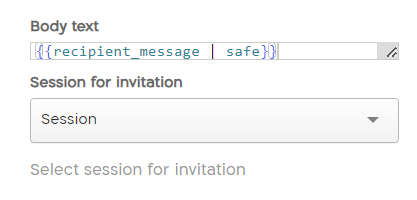
Email message settings
| Kind | Select the kind of the message Email for email message. |
| Sender | Select the sender from the list defined in the system. Default: support@cellosign.com |
| Priority | Select the priority of the email. Default: Normal |
| Add recipient | Press “+” icon to add the fields for the recipients emails according to the number of recipients. |
| Recipients | Add the email address to the field or select the input parameter from the list. |
| Add CC | Press “+” icon to add the recipients to send a copy of the email. |
| Add BCC | Press “+” icon to add the recipients to send an invisible copy of the email. |
| Subject | Add the subject of the email |
| Body template | Select the body template: - “Invitation” is the email that will include the link of the form for the recipient to sign and complete. - “Archive to rep” is the archive email, that will be sent to the agent after the form completion. - “Signed document” is the email to the client with the signed copy of the form. - “Default” is the email that will include only the Body text. |
| Body text | Add body text. If not added, default text will be sent. |
| Session for invitation | Select the session for invitation. |
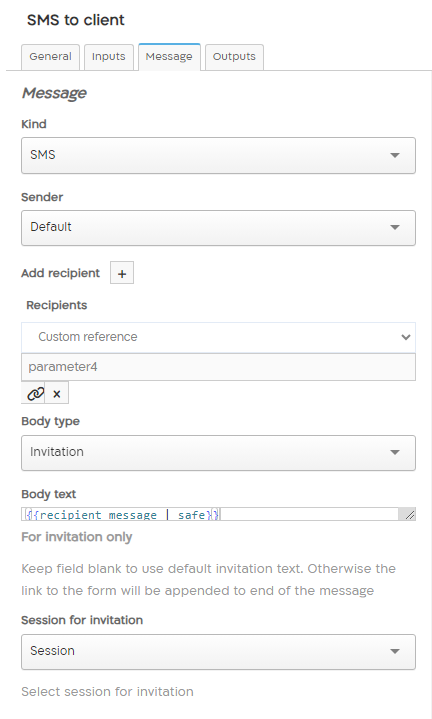
SMS message settings
| Kind | Select the kind of the message SMS for phone message. |
| Sender | Select the sender from the list defined in the system. |
| Add recipient | Press “+” icon to add the fields for the recipients phone numbers according to the number of recipients. |
| Recipients | Add the phone number to the field or select the input parameter from the list. |
| Body type | Select the body type: - “Invitation” is the SMS message that will include the link of the form for the recipient to sign and complete. - “Inline template” is the SMS message that will include only the Body text. |
| Body text | Add body text that will be sent in the SMS message. |
| Session for invitation | Select the session for invitation. |